In the world of dentistry, where precision and patient safety are paramount, autoclaves are your trusted allies. They play a critical role in achieving the highest standards of sterility, ensuring that
your instruments are germ-free and your practice is safe for patient care. But how can you be sure that these vital pieces of equipment are always in tip-top shape?
Our latest blog post dives into this important topic. We’ll walk you through the different types of inspections and checks that should be performed on an autoclave on a regular basis, and explain why they’re so important to patient safety and the quality of your dental care:
1. Weekly Routine Inspection
Once a week, you should perform the vacuum test. This test is carried out with a cold, dry autoclave chamber and no load.
The purpose of the vacuum test is to check for any leaks in the steam system of the autoclave. After completion of the vacuum test, the result is shown on the display together with the leakage rate.
If the leakage rate is above 1.3 mbar, a corresponding malfunction message is output. Please document the result of the vacuum test on the autoclave data carrier for your records.
2. Daily Routine Inspection
Your daily autoclave inspection should encompass the following:
🔸Visual inspection of the door seal and door latch for integrity: Make sure the door closes properly and shows no signs of damage.
🔸Checking operational utilities: Examine electricity and water supply, as well as any water connections, to ensure everything is functioning correctly.
🔸Review of documentation tools: Verify that your printer, computer, and network are working as intended for proper logging.
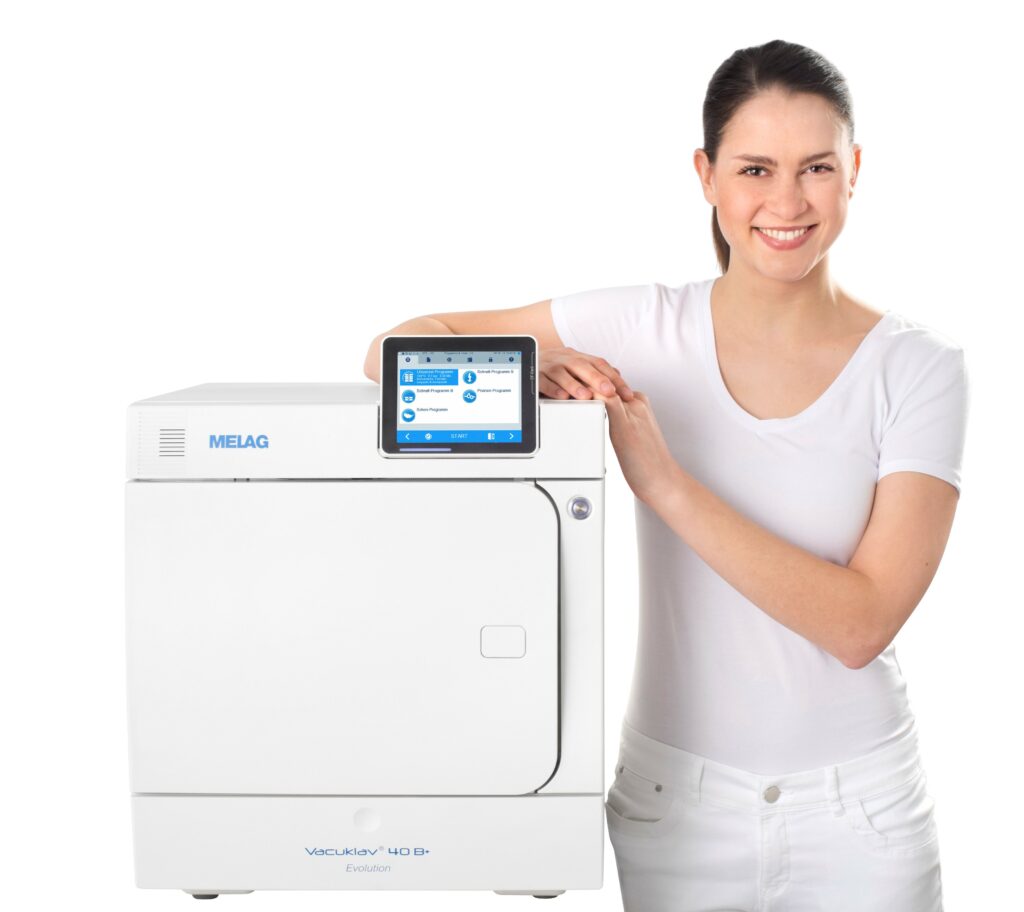
Modern autoclaves, such as the Vacuclave from MELAG Medizintechnik, monitor all relevant parameters and issue a malfunction message in case of deviations.
3. Batch-Related Routine Inspections
The use of batch-related test bodies depends on the field of application and the type of autoclave. The international recommendations refer in particular to:
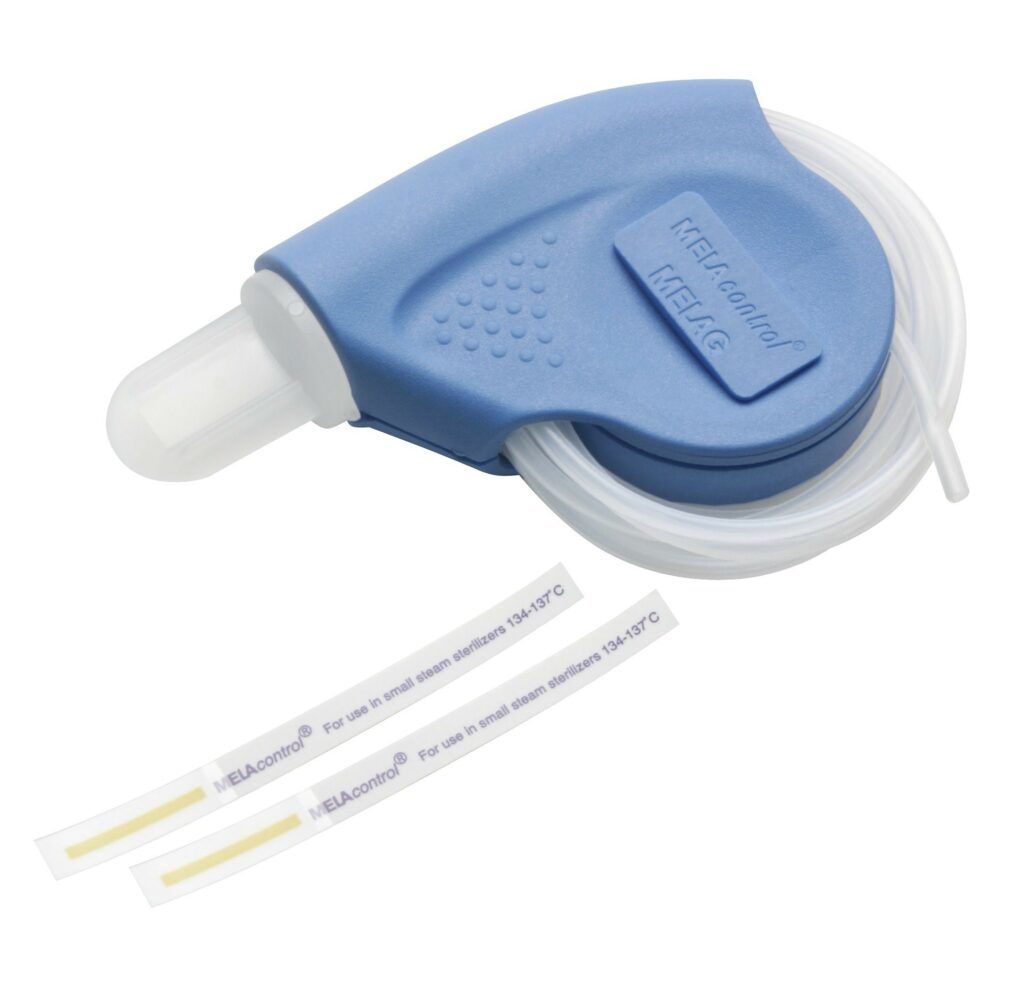
Helix test:
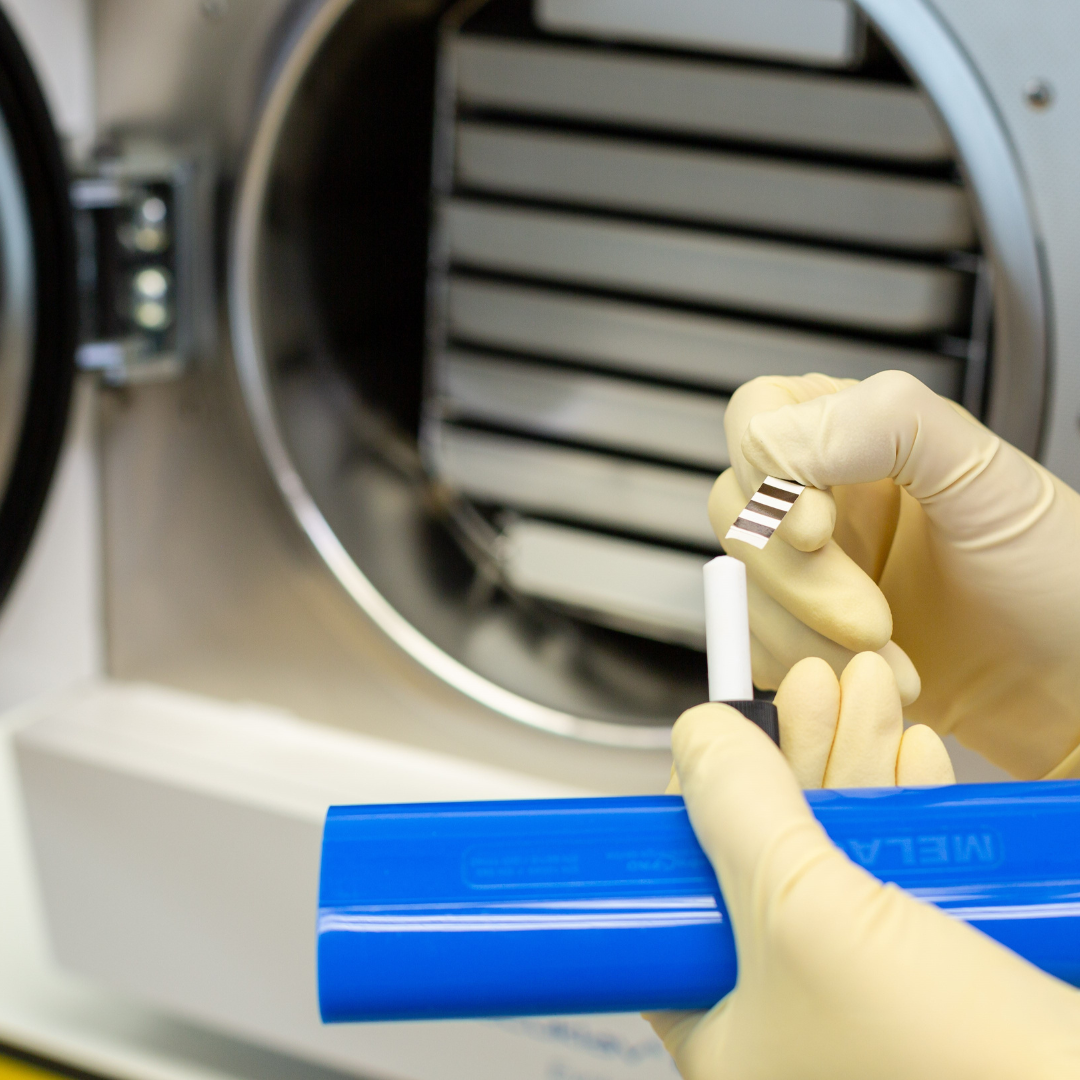
The Helix test is described in EN 867-5 and simulates the highest requirements for the sterilisation of complex hollow instruments, such as straight and contra-angle handpieces. It consists of a 1.50 m long hose, which has a diameter of only 2 mm.
The hose is closed at one end by a small capsule containing an integrating, time-controlled indicator.
The steam must first pass through this 1.50 m long hose in order to produce a color change at the indicator. Before this can happen, the vacuum system of the autoclave must remove the air from the entire helix test. Even the smallest amounts of residual air or other non-condensable gases will lead to improper coloration of the indicator.
The Helix test thus places the highest demands on the vacuum system and on the vacuum tightness of the overall system.
Type 5 Indicator:
If no hollow-body instruments are reprocessed in the batch, a type 5 indicator according to EN ISO 11140-1 is also sufficient to check the sterilization conditions (steam, temperature and time). The indicator can be added to packaged instruments (e.g. in MELAfol, MELAstore) or placed directly in the chamber of your autoclave. If the sterilization conditions are complied with, the indicator turns over after 16.5 min at 121 °C or after 5.3 min at 134 °C.

In summary, maintaining sterilization excellence in your practice is a non-negotiable commitment to patient safety and quality of care. By following the recommended inspection procedure, performing vacuum tests and choosing the right batch control method for your instruments, you not only meet regulatory requirements, but also raise your standards and build trust with your patients.
So as you embark on this journey of excellence, remember that every autoclave inspection is a step toward safer, more reliable dental care. Your patients deserve nothing less, and your practice will shine all the brighter for it.
